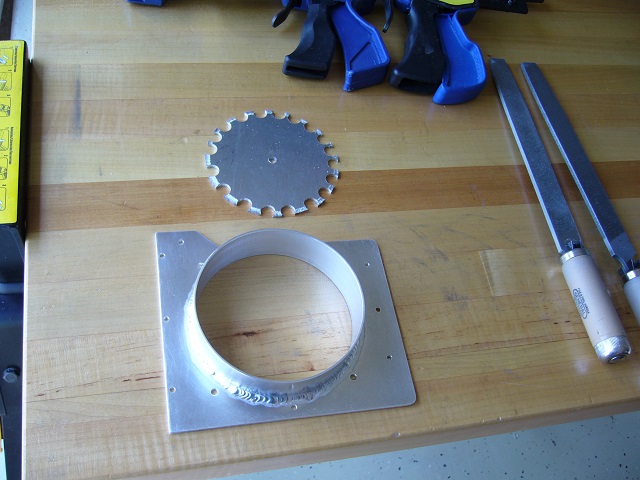
 Fan and filter mounting flange.
The cutout piece shows how I started - with a hole saw. That didn't work so well on the 1/8" 6061, so I changed tactics, punching a bunch of holes with a step drill, sawing out the piece with a jigsaw, and finishing with files.
The tube is 5" OD, 1/16" wall 6061. I got it welded up at a local fabrication shop.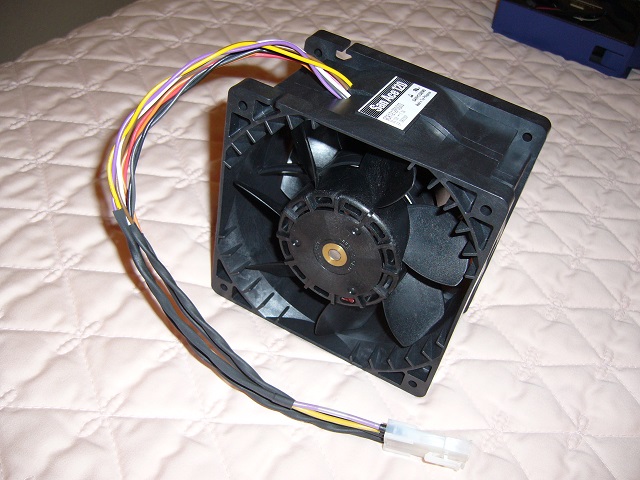 The fan is a San Ace 9CR1212P0G03 120mm dual counter-rotating unit, 12V, 86W and 300CFM max / 13W and 130CFM min (in free air), with tachometers
and PWM control. I doubled up the +, -, and PWM wires and separated the tachs, and plugged them into a 5-position Mini-Fit Jr housing.
 Fan with pigtail cable, which has two KK connectors for motherboard tach and PWM signals and a PCI-e-type Mini-Fit Jr to plug into the Seasonic
Prime Titanium power supply. Max current is ~7A, a tad higher than desirable for a single contact, but the fan should never run at maximum speed during
normal operation.
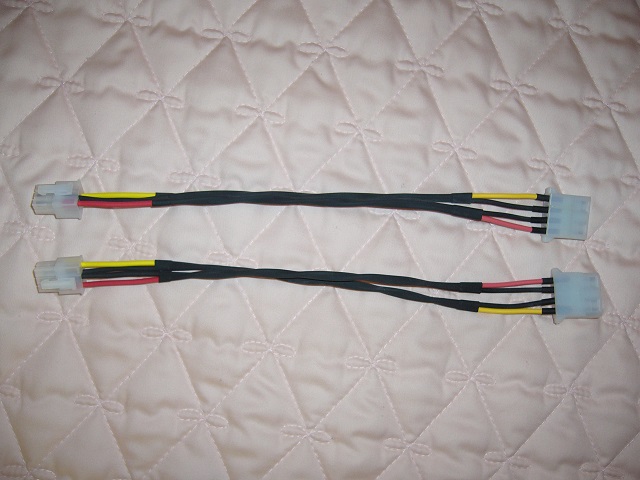 Power cables for a pair of Supermicro CSE-M14TQC mobile racks, for the SATA RAID array. Many folks would be tempted to use a single, standard
dual-drop power cable for both housings, effectively using a single Mini-Fit Jr contact to supply two Commercial MATE-N-LOK contacts. Assuming 5V
passthrough, eight 7W SSDs can potentially consume ~11A, too much for a single Mini-Fit Jr contact.
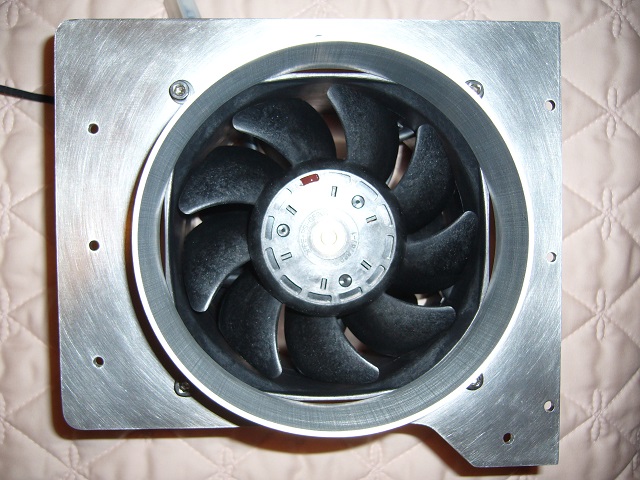 Flange with fan mounted. Normally I'd have shaped the opening appropriately, but somewhere during my failure with the hole saw and implementation of
the subsequent quick-and-dirty get-it-done solution, I forgot that the fan inlet was neither circular nor 5" in diameter. Oh well - the leakage will
be minor.
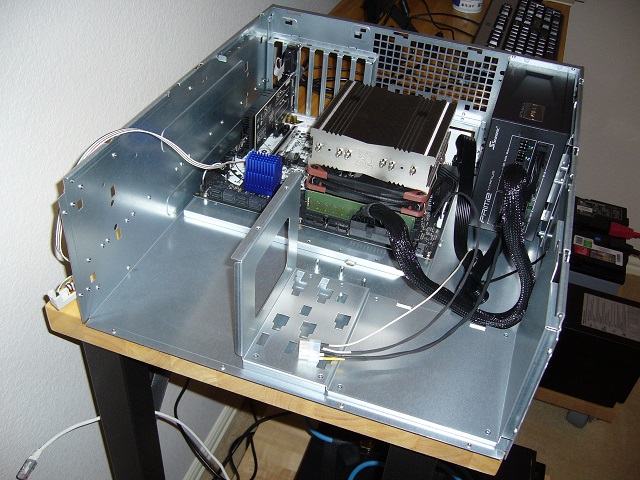 Motherboard installed, but not the motherboard stated above. I started with an Asrock X370 Taichi with a 5800X.
I suppose I should mention that the enclosure is an old In Win IW-R400-00-00 4U rackmount. Typical goofy design with excellent build quality.
 Faceplate installed. The faceplate originally included an irritating locking door (it had to be locked or it would fall open and could only be
locked with the key) and silly fan and filter mount/door (with a 120mm San Ace fan). My fan is bigger and my filter better. The odd shape of the
flange covers the odd shape of the opening and intercepts handy mount points.
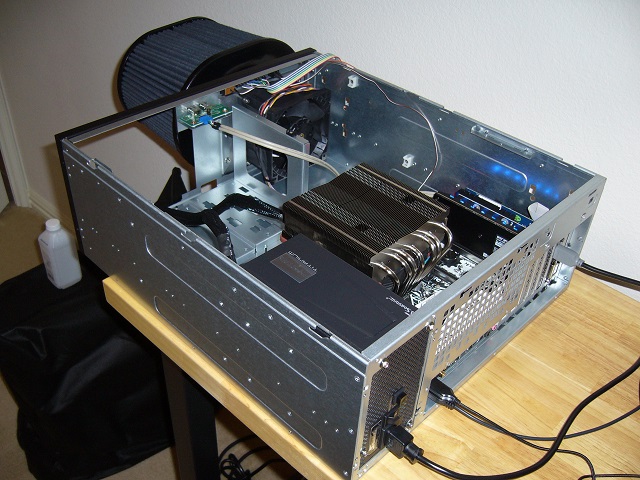 Testing the fan. You can see that the machine is powered on by all of the pretty blue lights on the Optane card.
I installed the filter, as I wouldn't want my new shiny clean fan to get dusty. It is an AEM 21-2277BF.
 A couple views of the drive bay. The bay is designed to be mounted either horizontally or vertically.
Currently mounted are a 2.5" P4800X Optane and an Ultrastar HUS726T4TALE6L4 HDD.
 And the mobile racks installed...
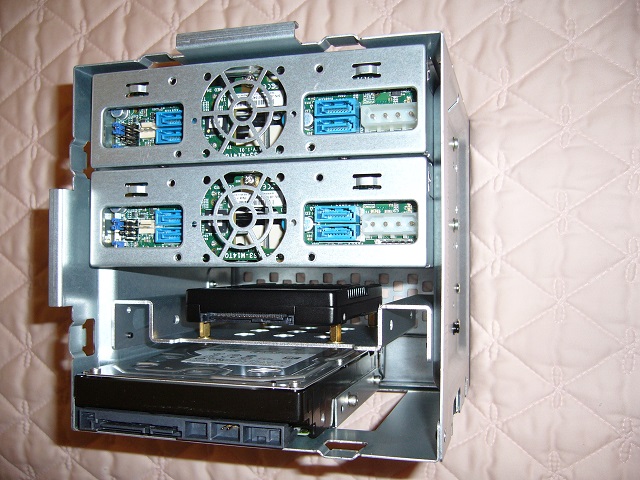 Ten devices packed in there. The system has eleven storage devices: eight 2.5" 1.6TB Intel DC 3610s attached to an Adaptec 8885E, a 2.5" 750GB
P4800X Optane, a 960GB 905P Optane AIC, and a 3.5" 4TB 7200RPM Ultrastar HDD.
I removed the fans from the mobile racks, as they were inconveniently large and pointed in the wrong direction.
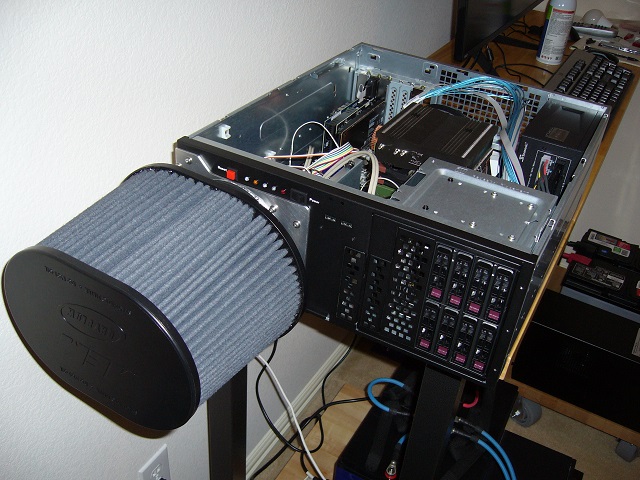 Drive bay installed. I oriented it this way as I figured it would make cable access easier - getting under the mobile racks and their nests of
snakes to reach the other two devices didn't look like a smart way to go.
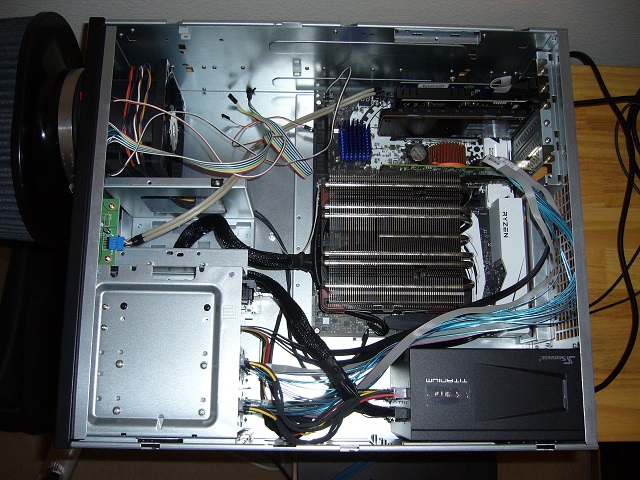 Argh! Typical cabling nightmare.
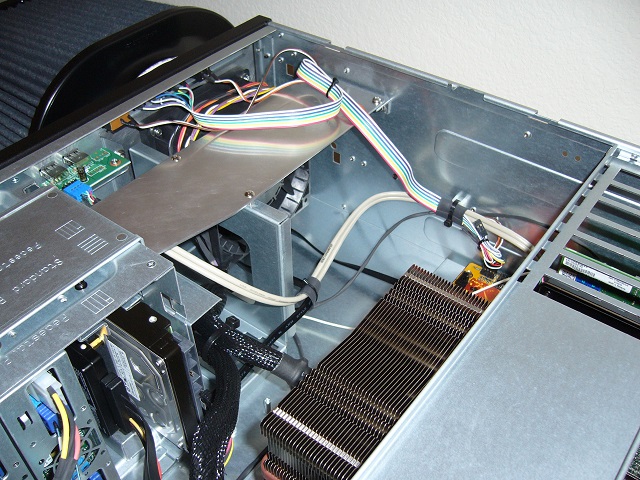 The factory internal drive bay cluster and card support was intricate and pretty useless, so I removed most of it and added a support so the remaining
structure doesn't flop around.
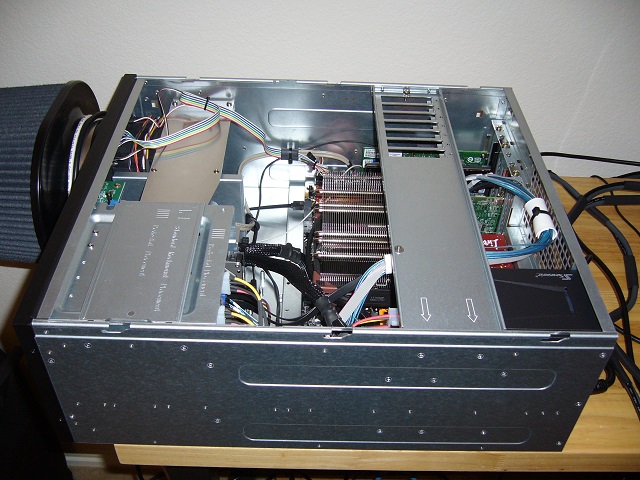 Here it is all wired up and tied down. It has also magically acquired a new motherboard, likely overkill for its application, but anything worth
doing is worth overdoing.
I removed the card braces from the cross brace as they served no purpose in this installation. I retained the cross brace as it stiffens the rear of the chassis and allowed me to add a cable tie mount for the RAID and NVME signal cables.
Something you can barely see in this photo is the lonely white tach wire laying across the front of the motherboard near where the SATA cable for the HDD is plugged in. It's too short to tie into the cable tie mount above it, as it was designed to plug in near the front of the motherboard, but the LiveMixer only has fan headers along the far edge. It blows a bit in the wind (no bullshit - it's windy there); we'll see if it eventually fatigues out and breaks. I could replace it easily enough as it's just one position, but that takes work and is probably unnecessary.
The fan is louder and raspier than I'd hoped. Airflow is also not what I'd hoped - in distribution; volume is plenty. Perhaps not surprisingly the flow is quite linear - it doesn't want to cut a 180 and flow out through the drive bay. I tried blocking the rear vent, but the main flow simply escaped through the power supply, resulting in no net increase in flow through the drive bay. Still, airflow seems to be adequate. The Optane runs a bit hotter than its AIC counterpart, but that's likely due to reduced surface area as much as airflow.
I had not considered inertia in the flow of air through a system, as it had never been an issue with my old right-angle mounts. Something to consider in future implementations of this type.
As with the 301 I use the "Motherboard" temperature source to control the system fan. It seems to track ambient temperature fairly accurately, so is more appropriate than the "CPU" source. As the ambient temperatures of interest fall into a narrow band, I have the speed control set for 0, 5, 12 and 25% at 28, 30, 32 and 34C respectively. The 120mm fan hunts a bit at the setpoints, which is a bit annoying but has no practical effect. Altering the temperature setpoints (and adjusting the PWM values appropriately) might reduce/eliminate the hunting, but I doubt I'll bother.